How to Iron a Shirt Like a Pro
Author: Cheryl Kilbourne-Kimpton
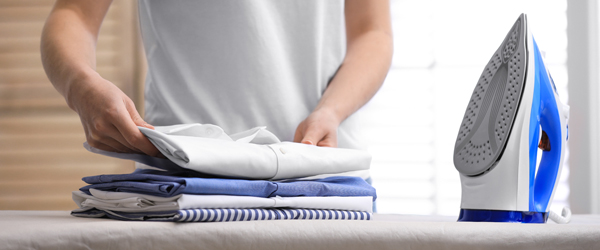
If there’s one skill every New York costumer picks up early in their career, it’s how to iron a shirt. Sure, we’ve got some fantastic cleaners in the city, but overnight service isn’t always available—or reliable. I really honed my ironing skills when I was the costume supervisor on Too Big to Fail. Talk about ironing shirts!

There’s no single “right” way to iron a shirt, but after 37 years in the business, this is the method that works best for me.
What You’ll Need:
- An iron with adjustable temperature settings
- An ironing board
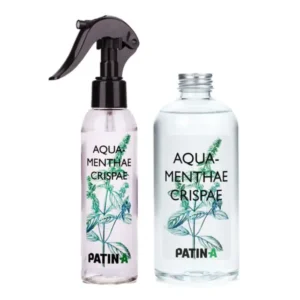
- A spray bottle with water or my favorite Patin-A Crisped Mint Water.
- Starch (optional for extra crispness)
- A Bo-nash Iron Slide Iron Shoe
Shoe Step-by-Step Guide
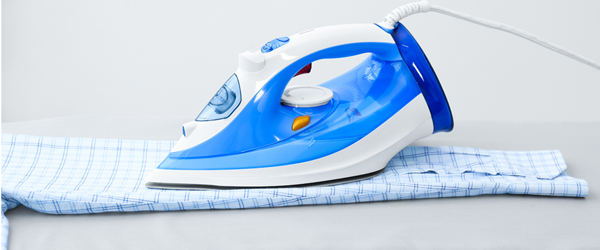
Prepare Your Ironing Station
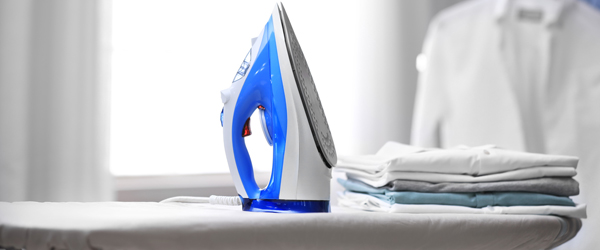
Set up your ironing board in a well-lit, heat-resistant area. I use the wide end of the board as there is more surface to work with. I like to iron without steam and on the hottest setting. This is possible because I use a Bo-Nash Iron Slide Iron Shoe.
The Ironslide Iron Shoe make your life easier. A must for anyone who irons.
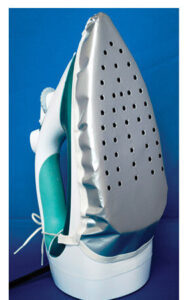
- The protective shoe fits the base of any household iron.
- The Iron Shoe is vented so it can be used with a dry or steam iron.
- Makes the sole-plate of the iron feel new again.
- Made of fiberglass with a non-stick surface so starch and fusibles wipe right off.
- Iron from cotton to silk or denim to lace without waiting for the iron to cool.
- Iron over sequins, paints, glitter, motifs, and buttons without damage.
- Eliminates shine. No need for a pressing cloth.
- Slightly damp shirts are easier to iron than dry shirts.
- Moisten the shirt with a spray bottle of water or my favorite Patin-A Crisped Mint Water.
1. Start with the Collar

Unfold the collar and lay it flat on the ironing board. Press from one side to the other, flipping it over to iron the reverse side as well. This ensures a crisp, professional look.
2. Next, Iron the Cuffs
Lay the cuff flat on your board, unbuttoned. Iron the underside of the cuff, then turn over and iron the outside, using the tip of your to iron between the buttons. No need to worry about melting with the Iron Shoe!
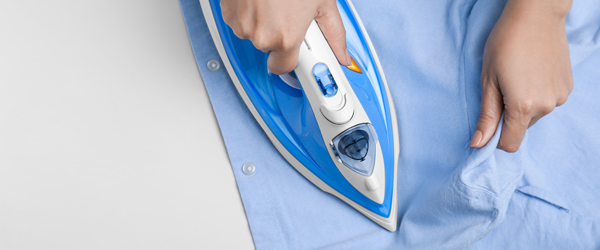
3. Move on to the Sleeves
Lay one sleeve flat on the board, aligning the seams properly. Start ironing at the top where the sleeve is sewn onto the shirt and work your way down to the cuff. Turn the sleeve over and iron the opposite side, then repeat the process with the other sleeve.
4. Iron the Shirt’s Back
Lay the shirt’s back flat on the ironing board. Start at the top with the yoke (back shoulder area) and slowly slide the iron down. If you have a center box pleat, spend a few seconds ironing around it.
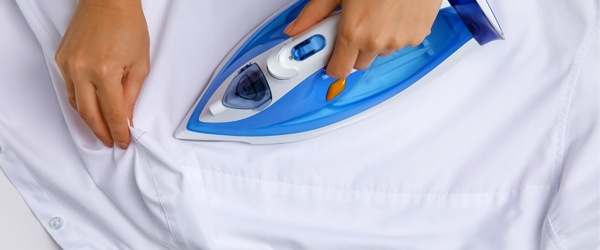
5. Tackle the Front of the Shirt
Next up, the front of the shirt! Start with the side that has the buttons. If you’re using a Bo-Nash iron shoe, no need to worry about working around them—you can glide right over without melting a thing. Then, move back up to the shoulder and work your way down. Repeat the process on the other side, and you’re good to go!
How to Iron a Shirt – Bonus Tips for a Flawless Finish:
- Always iron in long, smooth strokes to avoid creating new wrinkles.
- Hang the shirt immediately after ironing to maintain its crispness.
- Got some stubborn wrinkles? Just give the shirt a little extra spritz with your spray bottle!
- This method also works for delicate fabrics, when you use the iron shoe!
- By following these simple steps, you’ll have a perfectly pressed shirt every time—no dry cleaner required!
- Check out my YouTube Video here