Product Photography Secrets from Manhattan Wardrobe Supply
Author: Cheryl Kilbourne-Kimpton
Have you seen all of our great product photography? We have the product photography secrets you need if you want to take a picture of anything — whether it’s for eBay, your Etsy store, or just your website!
Product Photography Secrets: Background counts
In order to be taken seriously, you need to have good photos. No one wants to buy a product that is just out on the kitchen counter, with bad lighting — or worse, where you can see reflections of the photographer, the seller’s dog, dirty dishes — trust me, we’ve seen it. Whether you are selling jewelry you made on Etsy, showing off your millinery work on your own website, or selling your old iPhone on eBay, try to use a neutral background. This could be a white sheet, a white piece of foamcore — anything that is plain and clean. Be sure that it is also sitting on a plain white surface. You can even create your own DIY photo box with a discarded box and a clip-on work lamp.
If you’d like something that is a little more exciting, use backdrops. Pieces of found wood and fabric work great to create a feeling for your product photography, without taking up too much room or costing too much.
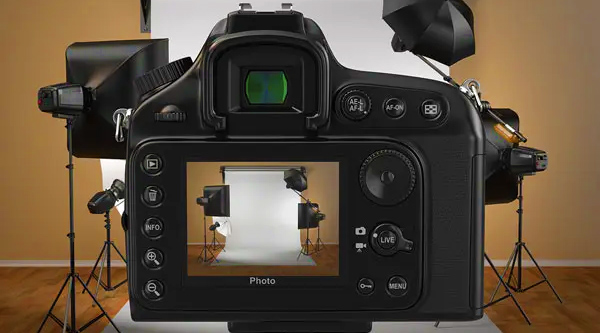
Product Photography Secrets: You Don’t Need a DSLR
You can use any sort of camera you want, if you know the settings and have good light. Check your manual to find out which settings are appropriate. Try to use daylight — natural light– if you don’t have your own lights (though clip-on lights are inexpensive at any hardware store). For an iPhone or other smartphones, you can use a camera app and touch where you’d like the focus — which also helps balance the exposure. Even the basic app does a great job of this.
Product Photography Secrets: Make Things Look Their Best
Photo stylists always have tricks up their sleeve in order to make things look a little better. Here are a few of our favorites:
- Use a tripod! It keeps the camera steady and allows you to get angles you couldn’t get with just your two hands. The picture will be sharper and the exposure will be more consistent.
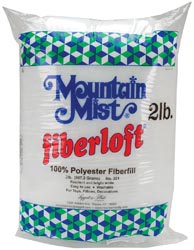
- Batting: If you have something like a purse that would normally have things in it, giving it volume, stuff it with newspaper or batting to provide realistic fullness. Batting also works great to fluff up towels and pillows.
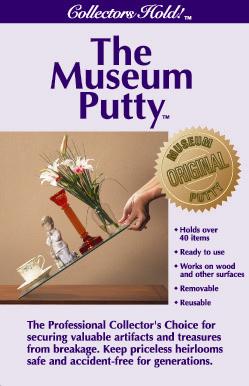
- Museum Wax Putty or Fun-Tak: This is sometimes called mounting putty and product photographers use it to prop up small objects. If something needs to stand up, but tends not to be able to stand up on its own, try using small acrylic risers that can be purchase at a store fixture shop.
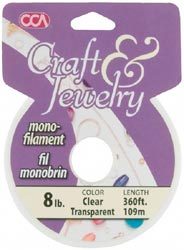
- Monofilament: This thin clear cord is made of plastic. You are probably more familiar with it as fishing line. Product photographers use it to suspend objects above or in front of the background to make it appear as though it is floating. It is difficult to detect in most photographs and when it is it can be retouched easily.
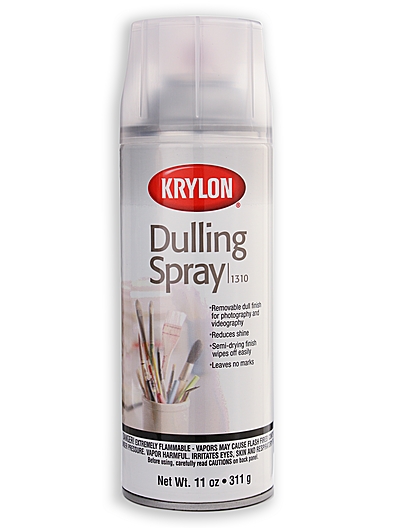
- Dulling Spray or Matte Spray: If an object is too shiny and is hard to photograph this product is invaluable to eliminate the kick from the lights.
- Clips and Clamps: These are light to heavy duty spring loaded clamps with vinyl covered tips that can be use to hold a variety of things in place. We carry them in several sizes from small to large. These can be used to keep seamless paper from unrolling to propping up products.

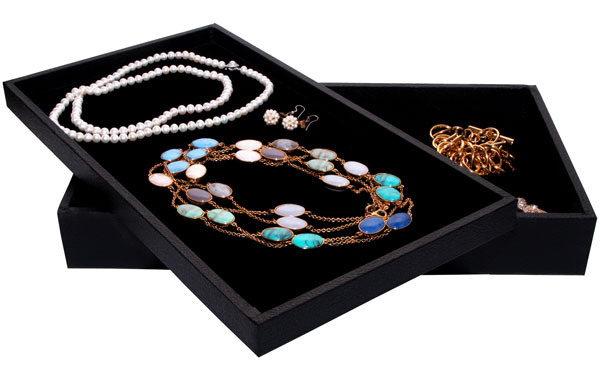
- Jewelry Trays with Velvet Pads: Jewelry looks great when photographed on black velvet. You can place them just on the pad or use the tray as well.
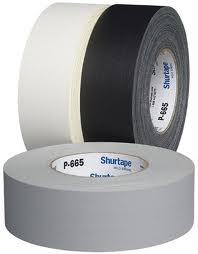
- Gaffer’s Tape: This is a must have for any product photography studio. The word gaffer refers to the name of the chief electrician on film and television productions. This is a matte cloth tape which is very similar to duct tape except that it does not leave a sticky residue when it is removed and it does not reflect light. It has multiple uses, from taping down seamless paper, to taping down power cords to keep the crew from tripping over them. I have even used this tape as a temporary fix for a broken shoe to propping up products. This tape comes in Black and White but my favorite are the neon colors.
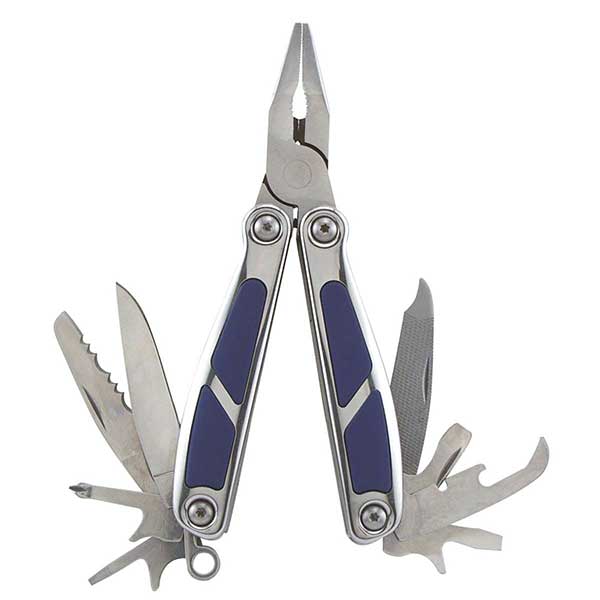
- Sheffield Multi-Tool: This is a simple little combination multi-tool which has a knife, phillips head screwdriver, needle nose pliers, wire cutter and much more. I have used mine for fixing broken jewelry to repairing products.
- Lint Roller: When you are shooting jewelry on black velvet or other nappy cloth, lint becomes a huge issue and a pocket lint roller is an invaluable tool to removing it.
![]()
- Don’t forget props! If you sell delicious chocolate candies, for example, they look better on a colorful plate. Selling pins or jewelry? Pin it on a sweater or show it with a blouse. Make things look a little more real and in context to give you buyers ideas about how they’d use the item.
Product Photography Secrets: Edit Your Photos
We are not Photoshop pros, and we know that not every shop owner can afford professional photo editing. That’s okay — there are online tools that help your photos look their best. You can use a free tool like Google Photo Editing, PicMonkey, or even smartphone apps like Camera + to crop and edit photos. Even just editing the contrast and cropping so the item is shown at its best can make a huge difference!
What are your favorite product photography secrets? You can find the above products at Manhattan Wardrobe Supply